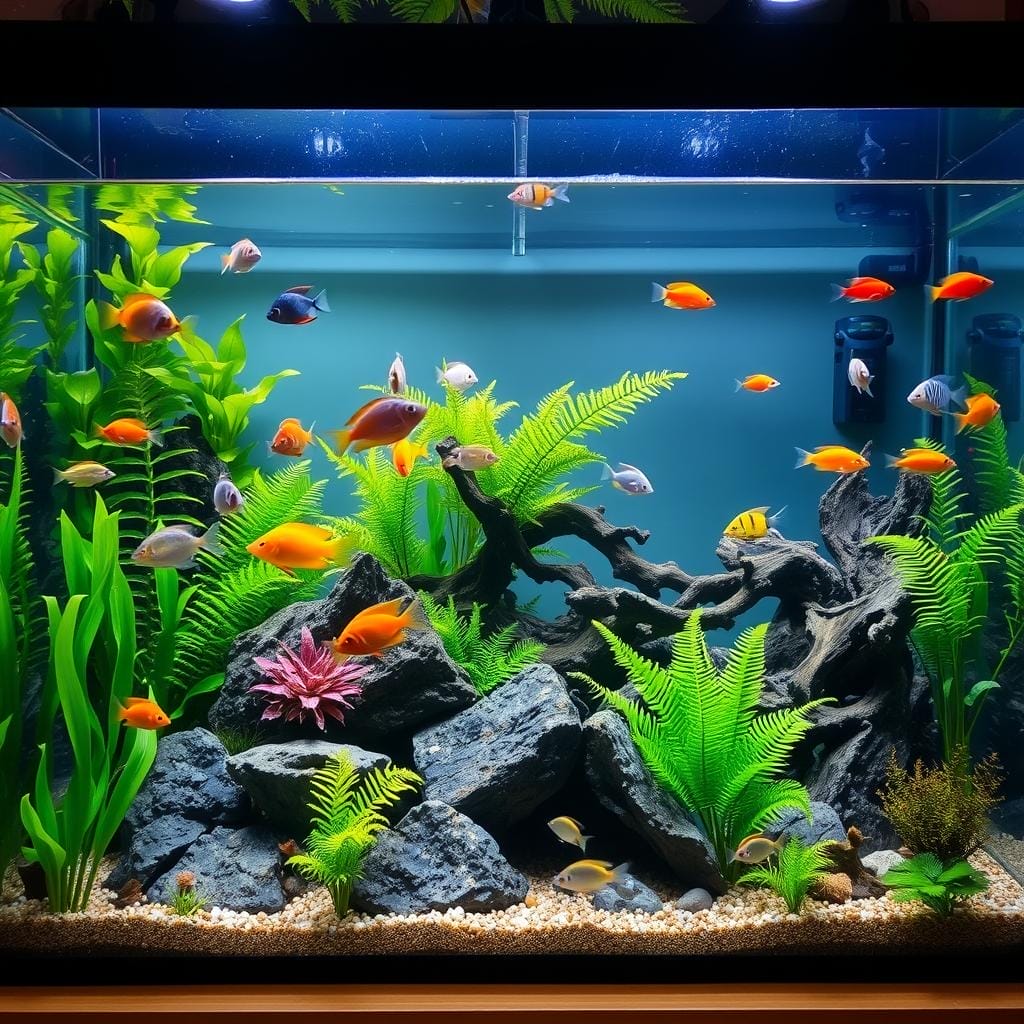
Make Your Aquarium Shine with DIY Aquarium Decorations
Did you know 78% of fish owners report greater satisfaction when personalizing their aquatic habitats? Transforming your underwater space doesn’t require expensive store-bought items. With simple materials and imagination, you can craft eye-catching features that keep your pets healthy and showcase your artistic flair.
Building custom pieces lets you control every detail – from colors to textures – while ensuring compatibility with your tank’s ecosystem. You’ll save money compared to premade options, often spending less than $10 per project. Plus, homemade creations add character that mass-produced ornaments simply can’t match.
Safety comes first. We’ll teach you which materials withstand water exposure and protect delicate gills. Whether mimicking natural reefs or crafting whimsical structures, you’ll learn techniques that balance aesthetics with functionality. This hands-on approach deepens your connection to the underwater environment you’ve nurtured.
Ready to turn everyday items into stunning focal points? Our step-by-step methods work for all skill levels, proving that creativity thrives best within boundaries. Let’s explore how purposeful design elevates both your tank’s beauty and your fish’s quality of life.
Understanding Aquarium-Safe Materials
Your fish’s home should be as safe as it is beautiful. Choosing the right supplies protects delicate ecosystems while letting creativity flow. The key lies in materials that stay stable underwater and pose zero risks to aquatic life.
Criteria for Non-Toxic and Durable Supplies
Safe items won’t release chemicals or alter water balance. Look for pH-neutral options labeled food-safe or aquarium-specific. Ceramics must be lead-free, while plastics should withstand constant moisture without breaking down.
Smooth surfaces prevent injuries to fins and scales. Avoid tiny holes where small fish could get trapped. Test durability by soaking materials in water for 48 hours – if they warp or discolor, skip them.
Materials to Avoid for a Healthy Tank
Metals rust and poison water, even stainless steel. Painted objects chip over time, releasing toxins. Untreated wood rots and disrupts pH levels, harming sensitive species.
Watch out for:
- Glazed pottery (unless certified safe)
- Regular superglue near water
- Cheap plastic that becomes brittle
Always rinse new items thoroughly before adding them. When in doubt, ask: “Would this hold up in a drinking glass?” If not, your tank deserves better.
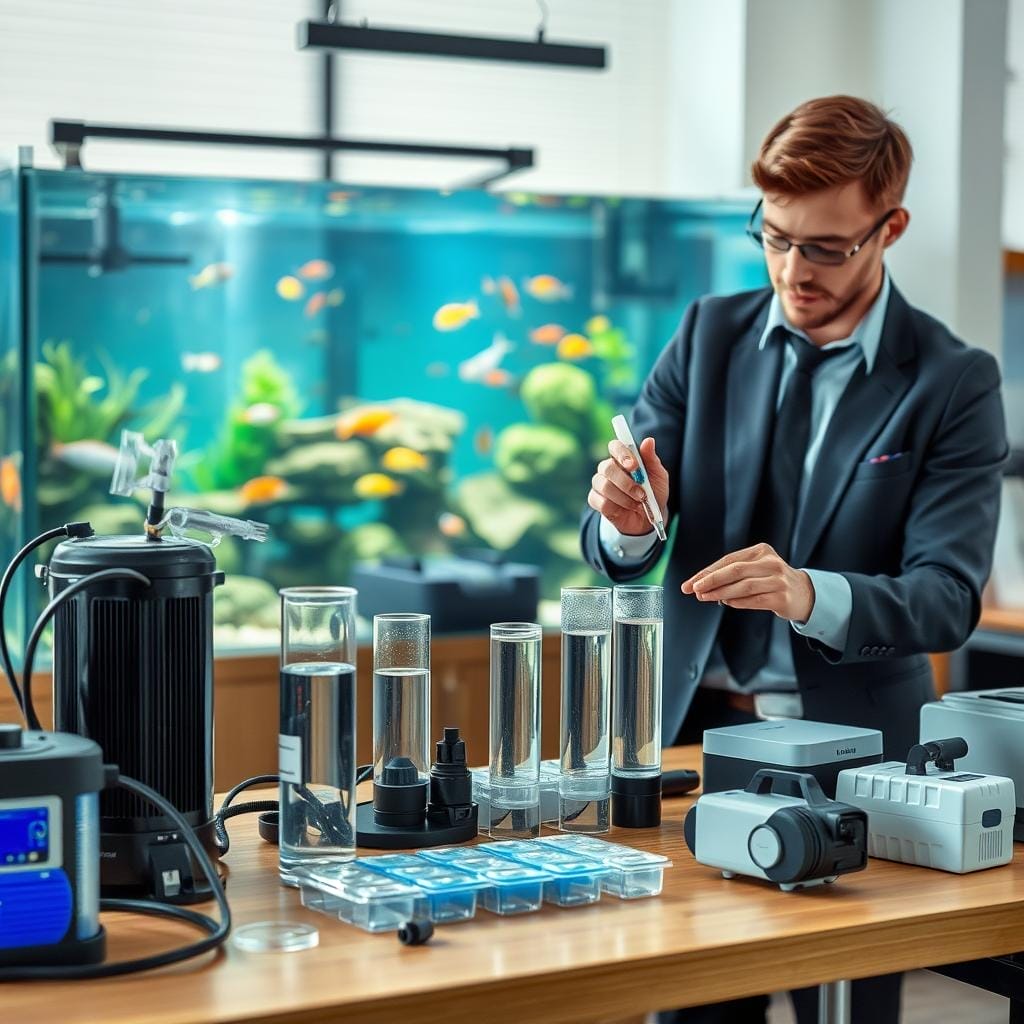
Gathering Tools and Supplies for Your DIY Project
The right toolkit transforms good ideas into great results. Before diving into your creative process, assemble items that ensure precision and safety. Proper preparation prevents frustration and helps achieve polished finishes.

Essential Tools: Dremel, Safety Gear, and More
A multi-functional Dremel handles cutting, engraving, and smoothing tasks effortlessly. Pair it with fine-grit sanding bits to refine surfaces. Protective gear isn’t optional – safety glasses shield eyes from flying PVC particles, while a dust mask keeps lungs clear.
Keep a Sharpie handy for marking designs on pipes. Use cardboard as a painting surface to contain overspray. A broom quickly sweeps up debris, maintaining a clutter-free workspace.
Choosing the Right PVC, Paint, and Accessories
Select thick-walled PVC pipes or connectors that hold detailed engravings without cracking. Avoid thin varieties that might collapse under water pressure. Krylon Fusion spray paint bonds permanently to plastics – other paints peel or release toxins.
Stock up on paper towels for quick cleanups and detailing. A five-gallon bucket serves multiple roles: soaking parts, mixing solutions, or organizing supplies. Always check edges for roughness after cutting, using your Dremel to create fish-friendly curves.
Materials to avoid:
- Non-aquatic paints with chemical additives
- Thin plastic that becomes brittle underwater
- Sharp connectors without smoothed edges
Step-by-Step Guide to Crafting Unique Aquarium Decor
Transforming ordinary materials into stunning underwater features starts with careful planning and precise execution. Follow these professional techniques to create safe, functional pieces that blend artistry with practicality.

Sketching Your Design and Engraving Techniques
Start by sketching your design lightly on the pipe’s surface. Use a fine-tip marker to outline patterns or entrance holes. This visual guide helps maintain consistency during engraving while allowing adjustments as needed.
Set your Dremel to medium speed for controlled texture work. Glide the tool along marked lines using steady pressure – too fast melts plastic, too slow creates uneven grooves. For entrance holes, switch to higher speeds in ventilated areas for clean cuts.
Sanding, Cleaning, and Preparing the Decoration
Shape rough edges using 220-grit sandpaper until surfaces feel smooth. Focus on entrance areas where fish will swim through. Remove marker lines with a detail sander, then rinse the piece thoroughly under running water.
Apply Krylon Fusion paint in thin, even coats. Let each layer dry completely before adding the next. After painting, soak your creation in fresh water for 14 days – change it daily to remove residual chemicals. This crucial step makes sure your decor remains safe for aquatic life.
Pro tip: Test edges by rubbing pantyhose over them – if threads snag, keep sanding! This simple trick helps prevent fin tears better than visual inspections alone.
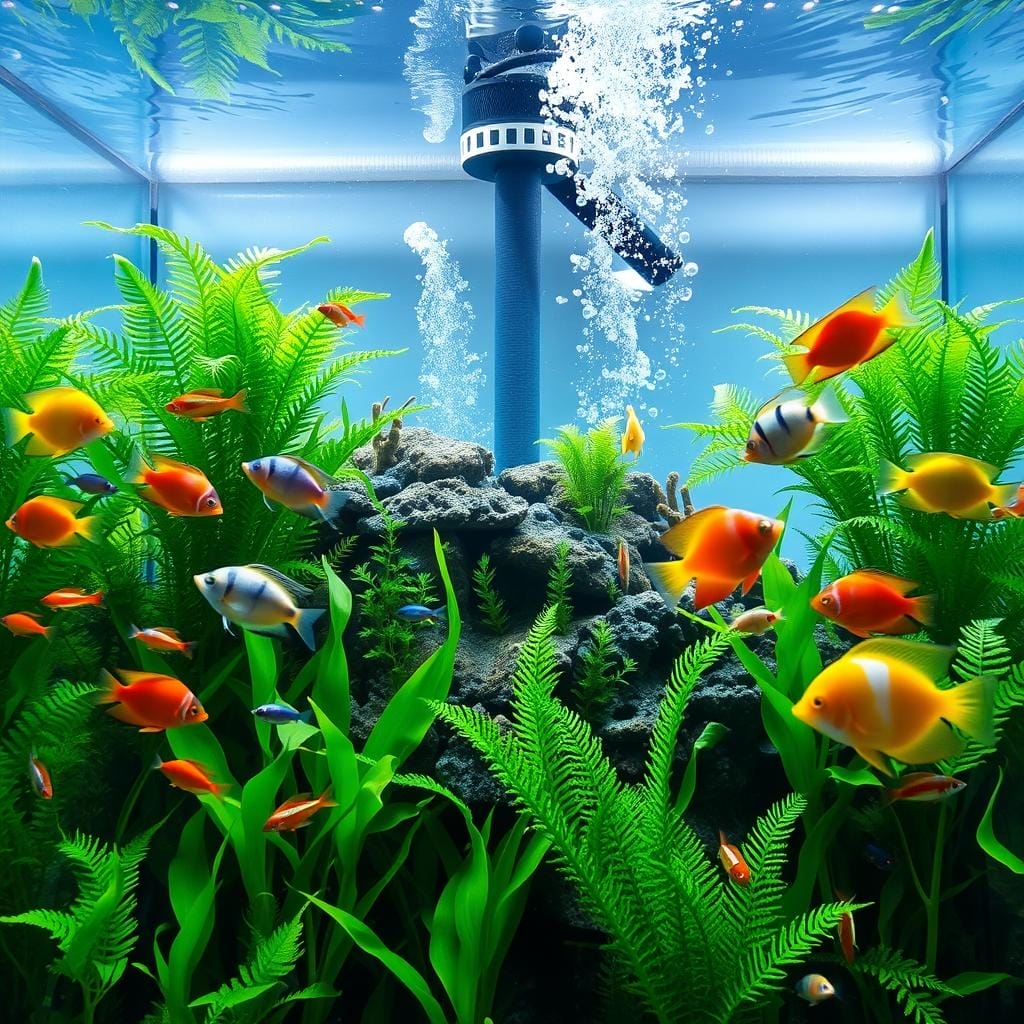
Creative Ideas for DIY Aquarium Decorations
Your fish’s environment becomes a living canvas when infused with thoughtful design. Let’s explore inventive approaches that merge practicality with artistic expression, giving your tank personality while meeting aquatic needs.

Building Functional Fish Havens
PVC tunnels become secret pathways for bottom-dwellers when cut into angled segments. Stack pipes vertically with smooth stones glued to their surfaces – this creates climbing structures for loaches while blending with natural décor. For terracotta pots, drill multiple entrance holes and coat edges with aquarium-safe silicone to prevent scratches.
Coconut shells offer instant tropical charm. After boiling to remove tannins, attach Java moss to their textured surfaces using cotton thread. These biodegradable huts shelter shy species while releasing beneficial tannins slowly.
Themes That Tell a Story
Transform your space into an aquatic adventure with themed elements. Construct miniature ruins using stacked slate stones, or build futuristic cities with interlocking plastic bricks. Live plants like Anubias thrive when tied to driftwood arches, creating layered landscapes.
For playful touches, craft creative fish tank ideas using non-toxic colored pebbles to outline “paths” between decorations. This guides fish movement while adding visual depth. Rotate features monthly to stimulate your pets’ curiosity – they’ll explore new layouts with enthusiasm.
Integrating Ready-Made Decor with Natural Elements
Creating a balanced underwater world involves more than just handmade touches. By pairing your custom pieces with carefully chosen commercial ornaments, you achieve professional polish while keeping your tank uniquely yours. The secret lies in strategic placement and complementary textures.

Mixing DIY Projects with Store-Bought Ornaments
Start by anchoring your design with 2-3 statement pieces from pet stores. A sunken ship or resin cave works beautifully beside your PVC tunnels. Offset angular shapes with smooth river stones – their rounded forms add organic contrast. Always:
- Test store items for sharp edges
- Match color palettes to your handmade creations
- Leave open swimming lanes for fish
Enhancing Your Tank with Rocks, Plants, and Legos
Natural river stones need thorough prep. Soak them in diluted bleach for 48 hours, then rinse with dechlorinated water. For vibrant greenery, attach Java fern to driftwood using cotton thread – it grows slowly, needing minimal care. Lego bricks offer playful possibilities:
- Build miniature castles or bridges
- Use bright colors to highlight specific zones
- Clean pieces weekly to prevent algae buildup
Food-safe ceramics from thrifted tea sets add whimsy when placed on their side. Arrange all elements in odd-numbered groups for visual harmony. Want more inspiration? Explore our guide to natural decorations that support your aquatic ecosystem.
Troubleshooting Common DIY Challenges
Even the most carefully planned projects can hit snags. Don’t let small setbacks discourage you – they’re opportunities to refine your skills and improve results. With these proven fixes, you’ll turn frustrations into triumphs while keeping your aquatic friends safe.
Fixing Material and Technique Issues
If your PVC starts melting during engraving, lower the Dremel speed and use lighter pressure. Pro tip: Wipe the surface with a damp cloth between passes to prevent overheating. Accidentally drilled through a pipe? Expand the hole into an organic shape resembling natural wood textures – your fish will appreciate the extra hiding spot.

Paint problems often stem from improper application. Three thin coats work better than one thick layer. If drips occur, sand the area gently once dry and reapply. For uneven coverage, let the piece cure fully before adding touch-ups.
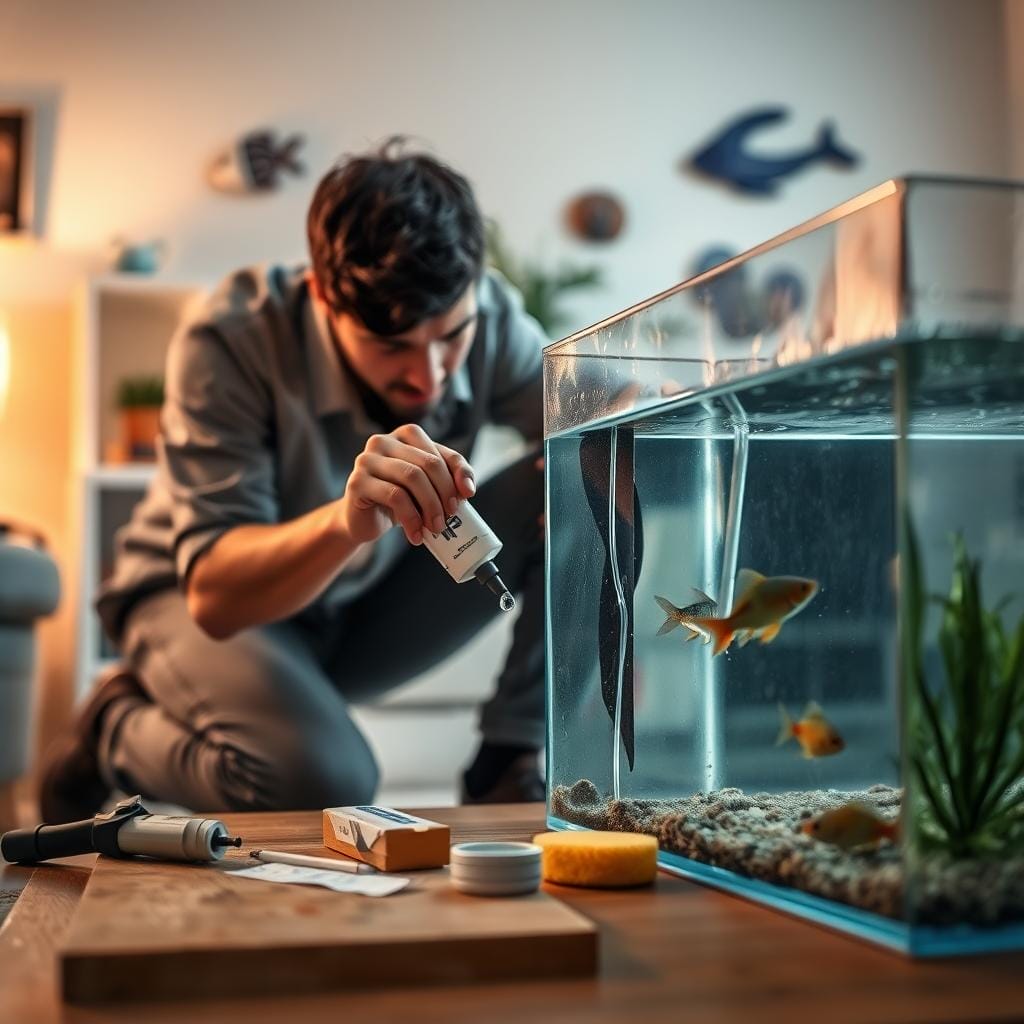
Maintaining Aquarium Water Quality Post-Installation
New decorations need a 14-28 day soak in fresh water with daily changes. This removes residues that could harm your fish. After installation, test these parameters weekly:
Also Read: Tank Leaks Repair: Simple Steps to Fix Leaks
- pH levels (sudden drops indicate leaching)
- Ammonia spikes (sign of organic breakdown)
- Water clarity (cloudiness suggests improper curing)
Notice unusual fish behavior? Remove the item immediately and perform a 25% water change. Most issues resolve within 48 hours with prompt action. Always keep a backup test kit handy – it’s your first line of defense against unseen problems.
Wrapping Up Your Aquatic Makeover
Your underwater masterpiece now reflects both creativity and care. That custom PVC piece you’ve crafted adds natural charm while keeping your fish safe. With each project, you’ll refine techniques – try varying pipe lengths or carving intricate patterns next time.
Remember to test new shapes by running pantyhose over edges. This simple trick prevents fin injuries better than eye checks alone. Rotate designs seasonally to keep your tank dynamic – stack pipes vertically for climbing species or create hidden entrances for shy swimmers.
Share your creations with fellow enthusiasts! Snap photos of moss-covered tunnels or pebble pathways between decor. These ideas inspire others while documenting your growth as a maker. Every bucket of supplies holds potential – transform ordinary materials into extraordinary habitats.
Most importantly, enjoy the process. Your tank isn’t just a container – it’s evolving art that nurtures life. Through thoughtful design, you’ve built more than decor – you’ve crafted a thriving underwater world.
FAQ
How do I know if materials are safe for my fish tank?
Look for non-toxic, water-resistant options like PVC pipes, untreated ceramics, or aquarium-grade silicone. Avoid anything with sharp edges, paints containing heavy metals, or materials that alter water chemistry (like untreated wood). Always rinse items thoroughly before adding them.
Can I use regular spray paint for PVC pipe decorations?
Only use paints labeled as aquarium-safe, such as Krylon Fusion or Rust-Oleum Specialty coatings. Standard spray paints may contain harmful chemicals that leach into the water over time. Let paint cure fully (48+ hours) before submerging.
What’s the best way to smooth rough edges on DIY decor?
Use a Dremel tool with a sanding attachment or fine-grit sandpaper. Rinse the piece afterward to remove debris. Test edges by rubbing pantyhose over them—if they snag, keep sanding until smooth.
How can I combine store-bought items with handmade pieces?
Layer natural elements like driftwood or Seiryu stones alongside DIY PVC caves. Attach Java moss to ceramic hides using fishing line for a seamless blend. Ensure all items share a cohesive color palette or theme.
Why does my water get cloudy after adding new decorations?
Cloudiness often stems from residual dust or chemical residues. Soak handmade pieces in a bucket of dechlorinated water for 24–48 hours before placing them in your tank. Check water parameters with an API Master Test Kit afterward.
Can Lego bricks harm my aquatic pets?
While Legos are generally inert, tiny gaps between bricks can trap food or waste. Seal them with aquarium-safe silicone if used, and avoid small pieces that curious fish might nibble on. Rinse thoroughly in warm water first.
Aquarium ornament ideasCrafty aquarium embellishmentsCreative aquarium craftsDIY aquarium decorHandmade fish tank decorationsHomemade aquatic decorationsUpcycled fish tank decor
Hi, I'm Millie a passionate fish enthusiast and blogger. I loves learning about all kinds of aquatic creatures, from tropical fish to stingrays.