How to Set Up Your Shrimp Tank: A Step-by-Step Guide
Did you know aquatic pets thrive in 85% of U.S. households that create stable environments? Starting a miniature ecosystem offers more than beauty—it teaches patience and unlocks nature’s rhythms right in your living room. Whether you’re new to aquatics or expanding your hobby, these compact habitats deliver big rewards with thoughtful planning.
This guide simplifies the journey from selecting your first specimens to maintaining crystal-clear water conditions. You’ll learn which equipment matters most and how to avoid pitfalls that frustrate newcomers. Unlike traditional fishkeeping, these environments adapt well to smaller spaces while offering endless fascination.
We’ll show you why proper preparation saves money and stress long-term. Discover how balancing light, filtration, and nutrition creates a self-sustaining world. By following our methods, you’ll gain confidence to nurture thriving communities that spark joy daily.
Ready to transform that empty corner into a lively underwater showcase? Let’s begin building your aquatic masterpiece—one careful step at a time.
Getting Started: Choosing the Right Aquarium Size and Essential Equipment
The foundation of a healthy aquatic habitat lies in selecting the right size and tools. Larger environments buffer against sudden changes, giving delicate species like Neocaridina davidi (cherry shrimp) room to thrive. Let’s explore how to build stability through smart choices.
Understanding Aquarium Size Benefits
A 5-gallon capacity is your safety net—it’s easier to maintain stable temperatures and chemical balances. Small volumes amplify tiny water quality shifts, while spacious homes dilute toxins. This matters most during molting, when crustaceans need consistent conditions to shed safely.
Overview of Must-Have Equipment
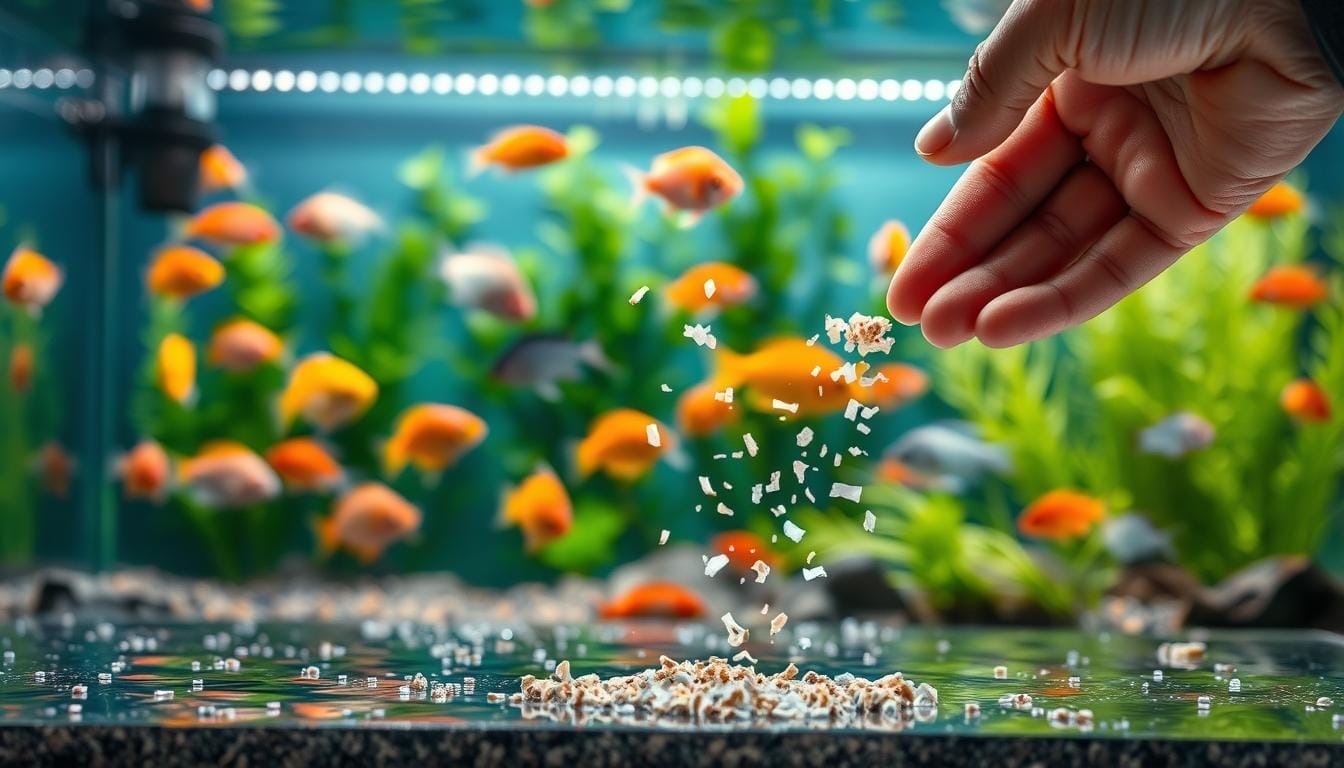
Your toolkit starts with a sponge filter—gentle enough for hatchlings yet effective at processing waste. Pair it with a 50-watt thermostat heater to prevent stress-inducing temperature drops. LED lighting supports plant growth without overheating the space.
Don’t overlook water conditioners. They neutralize chlorine in tap water while adding protective minerals. Coarse gravel substrate anchors live plants and hosts beneficial bacteria. Test kits become your early warning system, catching ammonia spikes before they endanger your community.
All-in-one systems designed for betta fish work surprisingly well here. Their compact designs hide equipment neatly, letting you focus on creating natural-looking hideouts with driftwood and java moss.
Setting Up Your Aquatic Environment
Creating a stable foundation begins with thoughtful groundwork. What lies beneath the surface directly impacts water quality and your inhabitants’ well-being. Let’s craft a balanced base that supports both aesthetics and ecosystem health.

Preparing the Substrate and Décor
Start by rinsing your chosen material thoroughly—even if labeled “pre-washed.” Swirl it in a colander until water runs clear. This prevents murky conditions that stress delicate creatures during their first days.
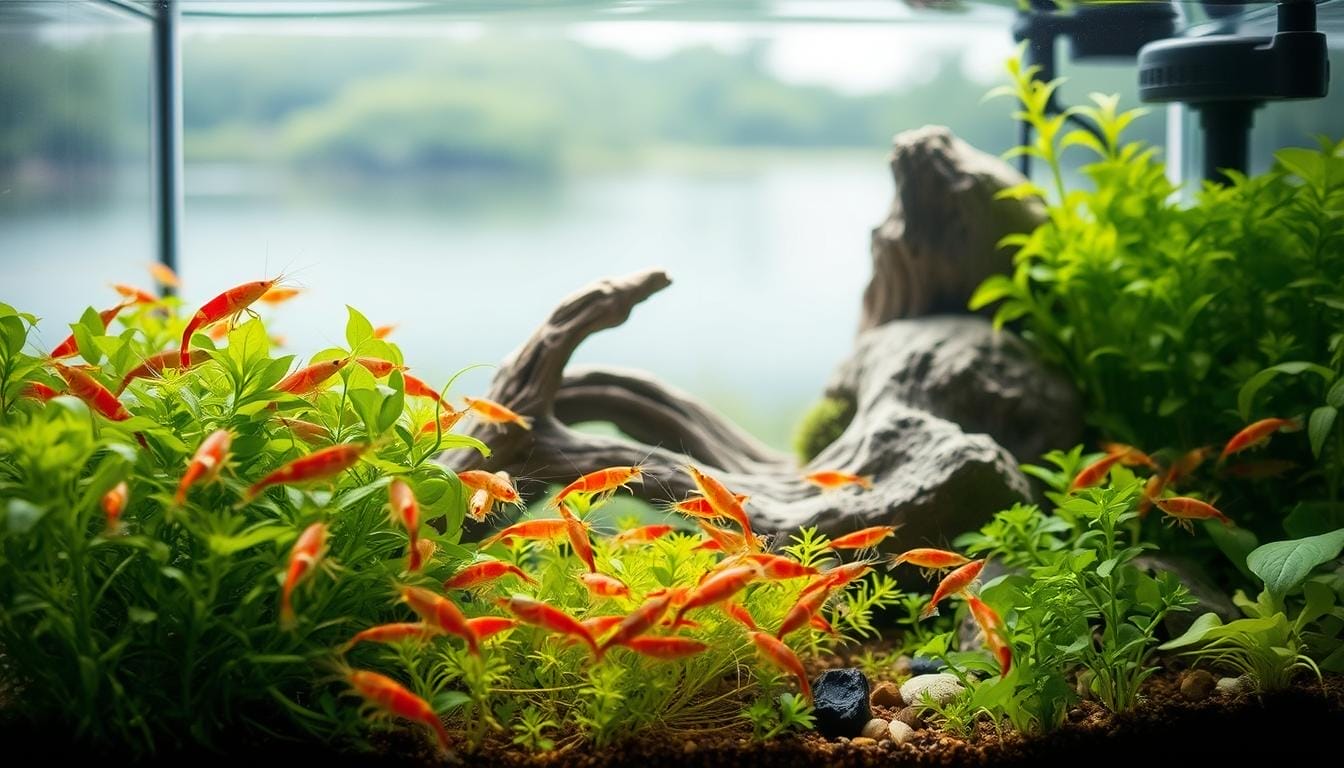
Aim for a 1-inch layer across the aquarium floor. This depth allows beneficial bacteria to colonize effectively while avoiding compacted zones where harmful gases form. Darker earthy tones enhance red and orange hues in many species, helping them feel secure enough to display vibrant colors.
Position hardscape elements like lava rock or spiderwood before adding liquid. These natural accents create shaded retreats and grazing surfaces. Choose pieces with intricate textures that match your aquatic friends’ petite size—think crevices for exploration, not overwhelming cliffs.
Pro tip: Slope the substrate slightly toward the front for visual depth. This simple technique makes cleaning easier while showcasing your carefully arranged landscape. Your preparation now becomes the silent partner in maintaining pristine water conditions later.
Mastering Shrimp Tank Setup
What separates a thriving habitat from a stagnant puddle? It’s the precision in assembling your ecosystem’s core components. Let’s transform your empty glass into a living, breathing world through methodical preparation.

Step-by-Step Assembly Process
Begin by anchoring your sponge filter in the tank’s corner. This powerhouse quietly cycles water while cultivating beneficial bacteria—your invisible cleanup crew. Attach airline tubing to the air pump, ensuring bubbles rise without disturbing plants.
Next, position the heater horizontally near the filter’s flow. This placement distributes warmth evenly. Plug it in only after submerging completely to avoid cracking. Did you know? Many enthusiasts recommend testing equipment for 24 hours before adding inhabitants.
Installing Filter, Heater, and Lighting
Your lighting system deserves strategic placement. Mount LEDs 6-8 inches above the surface to mimic natural daylight cycles. Use a timer for consistent 8-hour periods—this prevents algae while letting plants photosynthesize.
When filling the aquarium, place a saucer on the substrate and pour water onto it slowly. This protects delicate root systems and keeps décor intact. Pro tip: Float a plastic bag on the surface to further diffuse the flow.
- Secure filter intakes with foam sleeves to shield juveniles
- Calibrate thermostats to 72-78°F using an external thermometer
- Angle light fixtures to highlight your aquascape’s best features
Remember: Your filter and heater run nonstop. Interruptions crash bacterial colonies and stress inhabitants. With these steps, you’ll create stability that rewards patience—visible through vibrant colors and active exploration within weeks.
Water Quality Essentials for Healthy Shrimp
The secret to vibrant aquatic life starts with what you can’t see—perfect water chemistry. Whether you’re raising Neocaridina or exotic varieties, precise adjustments keep your colony thriving. Let’s explore how to craft liquid perfection for delicate ecosystems.

Preparing Tap Water and Remineralizing RO Water
Municipal supplies often contain chlorine or heavy metals. Treat them with conditioners like Seachem Prime—it neutralizes toxins in minutes. For full control, RO systems strip impurities but require mineral additives. Match salts to your species: blue bolts need Caridina blends, while cherries thrive with Neocaridina formulas.
Maintaining Ideal Temperature and pH Levels
Stability beats perfection. Keep most varieties at 70-73°F using adjustable heaters. Sulawesi types prefer warmer 82-84°F ranges. Test pH weekly—6.5-7.5 suits many freshwater aquarium shrimp. Sudden shifts stress inhabitants more than slight deviations.
Invest in a digital thermometer and GH/KH test kits. These tools prevent molting issues by ensuring proper calcium levels. Remember: gradual changes protect delicate systems better than rapid corrections.
Cycling Your Tank: Establishing Beneficial Bacteria
What transforms water into a living ecosystem? It’s the invisible workforce of beneficial bacteria that safeguards your aquatic friends. This process—essential for any thriving habitat—builds nature’s filtration system over 6-8 weeks. Skipping it risks exposing delicate creatures to toxic spikes.
Understanding the Nitrogen Cycle
Ammonia from waste and decaying matter fuels bacterial growth. These microbes convert it first to nitrites, then to safer nitrates. Your sponge filter becomes their prime real estate, hosting colonies that keep water safe. Test kits track progress: aim for 0ppm ammonia and nitrites with nitrates below 20ppm.
Boost efficiency by adding plants or using pre-cycled filter media. Warmer temperatures (82-84°F) speed up bacterial activity. Remember: higher pH levels increase ammonia’s toxicity, so monitor closely.
Patience pays off. Weekly water changes (10-15%) maintain stability during this phase. Once cycled, your habitat will handle waste naturally—rewarding you with clear water and vibrant life.
FAQ
What’s the ideal aquarium size for beginners?
A 5- to 10-gallon setup offers stability for newcomers. Smaller volumes make water parameter shifts harder to manage, while larger spaces give shrimp room to forage and hide.
Can I use tap water directly in my shrimp habitat?
Always treat tap water with a dechlorinator like Seachem Prime. Chlorine harms delicate species like Neocaridina davidi. For sensitive varieties, consider remineralizing reverse osmosis (RO) water instead.
Do I need a heater for tropical species?
Yes. Most colorful varieties thrive at 72–78°F. Use an adjustable heater like the Fluval M50 to maintain consistent temperatures, but avoid sudden changes that stress aquatic life.
How long does tank cycling take before adding shrimp?
Allow 4–6 weeks for beneficial bacteria colonies to establish. Test ammonia, nitrite, and nitrate levels weekly with the API Master Kit until readings stabilize at 0 ppm for ammonia and nitrites.
What substrate works best for planted setups?
Nutrient-rich options like ADA Amazonia support plant growth and buffer pH. Pair with inert sand or gravel for species that prefer neutral conditions, like ghost shrimp.
Can betta fish coexist with dwarf shrimp?
It’s risky. Bettas often see smaller tankmates as food. If attempting, use dense plants like Java moss for cover and monitor interactions closely in a 10+ gallon environment.
How often should I perform water changes?
Replace 10–20% weekly using a drip method to avoid shocking inhabitants. Match temperature and parameters closely, especially in setups with crystal red shrimp.
Aquarium filtrationAquarium maintenanceAquarium plantsAquascapingAquatic petsFreshwater aquariumInvertebratesShrimp careShrimp tank setup
Hi, I'm Millie a passionate fish enthusiast and blogger. I loves learning about all kinds of aquatic creatures, from tropical fish to stingrays.
You might also like


