Aquarium Lighting for Photos: Tips for Perfect Shots

Have you ever tried to capture the stunning beauty of your underwater world, only to end up with a blurry, blue-tinted mess? It’s a common frustration, but here’s the good news: you can take amazing pictures.
This comprehensive guide is here to help. We understand the hurdles—like that dominant blue glow, tricky reflections on the glass, and fish that just won’t hold still. But with the right approach, these obstacles become manageable.
The best part? You don’t need a fancy, expensive camera to get started. Your smartphone or a basic model can work wonders. We’ll walk you through practical steps, from understanding your aquarium lighting options to mastering simple camera settings.
Whether you’re a complete beginner or have some experience, this resource is for you. With a little patience and practice, your skills will improve dramatically over time. Get ready to showcase the vibrant colors and mesmerizing life that make your tank so special.
Understanding Aquarium Lighting Challenges
The gap between what you see in person and what appears in your digital images can be frustrating. Your eyes adjust naturally to the underwater environment, but cameras struggle with the same conditions.
Let’s break down the main obstacles you’ll encounter. Once you understand these challenges, solving them becomes much easier.
Blue Light Dominance and Color Imbalance
Many reef setups use intense blue spectrum light to support coral health. While beneficial for your aquatic life, this creates a major hurdle for photography.
The blue wavelengths overpower other colors, washing out the vibrant hues of your fish and corals. What appears rich and varied to your eye becomes a monochromatic blue blur on camera.
Glare, Reflections, and Water Distortion
Light bouncing off the glass creates annoying glare and bright spots. Room lighting and external sources add distracting reflections that obscure your subjects.
The water and glass layers act like lenses, bending light and making sharp focus difficult. Shooting straight-on minimizes this distortion, while angled shots increase the challenge.
Understanding these issues is the first step toward better pictures. Maintaining a healthy environment for your aquatic friends is crucial, and proper aquarium fish health practices support clearer photography conditions.
Mastering Aquarium Lighting for Photos
Let’s explore how you can control light to transform your underwater snapshots. The environment around your tank plays a huge role in your final image quality. Mastering your surroundings is just as important as understanding your equipment.

Key Considerations for Lighting Setups
One effective method involves shooting in a completely dark room. Turn off all other lights and let your tank’s illumination create dramatic contrast. Position your camera at or above the light source level to avoid pinkish glare.
For more consistent results, try indirect natural light. This approach is very forgiving for beginners. It helps capture true colors without harsh shadows.
If your setup allows, experiment with direct sunlight from nearby windows. This can reveal stunning textures and hues that artificial sources might miss. The key is controlling all light in the room, not just your tank’s lights.
Shooting at night offers complete control over your lighting conditions. Wear dark clothing to prevent reflections in the glass. Consider using black material behind your tank to minimize distractions from light-colored walls.
Each approach serves a different purpose. Dark room shots create drama, while diffuse light provides consistency. Natural sunlight often showcases the most vibrant colors. Your creative vision will guide which technique works best for your desired outcome.
Smartphone Techniques for Brilliant Aquarium Shots
Your smartphone holds incredible potential for capturing stunning underwater moments with just a few simple adjustments. Modern phone cameras rival dedicated point-and-shoot models, making them perfect for aquarium photography.

Adjusting White Balance and Using Filters
Combat that blue tint with an orange filter lens. This beginner-friendly accessory attaches directly to your phone and instantly neutralizes blue light. Your corals and fish will appear in their true, vibrant colors.
If you don’t have a filter, explore your camera’s white balance settings. Many phones offer manual control in “Pro Mode.” Alternatively, free apps like Adobe Lightroom Mobile provide excellent adjustment tools.
Utilizing Burst Mode to Capture Moving Fish
Fast-moving subjects become easy targets with burst mode. Simply hold down the shutter button to rapid-fire multiple shots. You’ll have several options to choose the sharpest, perfectly-timed photo.
For even better results, temporarily turn off water flow equipment. This reduces motion blur and clears floating particles. Position your phone lens perpendicular to clean glass to minimize distortion.
Don’t be shy about taking many pictures. Digital storage is plentiful, so experiment freely with different settings and angles.
Advanced DSLR & Mirrorless Settings for Aquarium Photography
Stepping up to a DSLR or mirrorless camera opens up a world of creative control for your underwater photography. These powerful tools give you precise command over every aspect of your image creation process.
Custom White Balance and Manual Mode Tips
Start by tackling the blue tint that often plagues tank images. Look for the Kelvin (K) setting in your camera’s menu. Adjust it between 10,000K-20,000K to neutralize the blue light effect.
For even more accuracy, try the custom white balance technique. Photograph something white inside your tank, like a frag plug. Set this image as your reference point for perfect color reproduction.
Manual mode gives you complete creative freedom. Begin with these settings: ISO 100-400 for clean images, aperture f/8-f/11 for sharpness, and shutter speed of 1/125s or faster to freeze movement. If your photo appears too dark, slightly increase the ISO or slow your shutter speed.

Selecting the Right Macro Lens and Tripod Use
Capture stunning close-up details with a macro lens. A 100mm lens for Canon/Nikon or 90mm for Sony lets you get incredibly close while maintaining sharp focus.
Be aware that macro photography creates a very shallow depth of field. This means only a small portion of your subject will be in focus at once. It’s a trade-off for those amazing detailed shots.
A tripod is your best friend for stability. It eliminates camera shake, especially important in low light conditions. This stability becomes crucial when working with slower shutter speeds.
Always shoot in RAW format rather than JPEG. RAW files store more image data, giving you greater flexibility during editing. You’ll find it much easier to correct colors and exposure later.
Don’t be afraid to experiment with higher ISO settings up to 1500. This helps achieve faster shutter speeds for moving subjects without noticeable grain. Try different focal lengths and aperture settings to discover what works best for your specific setup.
Lighting Techniques That Enhance Color and Composition
Creative positioning and thoughtful light management open up new possibilities for showcasing your aquatic environment. The right approach can transform ordinary scenes into extraordinary captures.

Utilizing Natural Light and Controlling Reflections
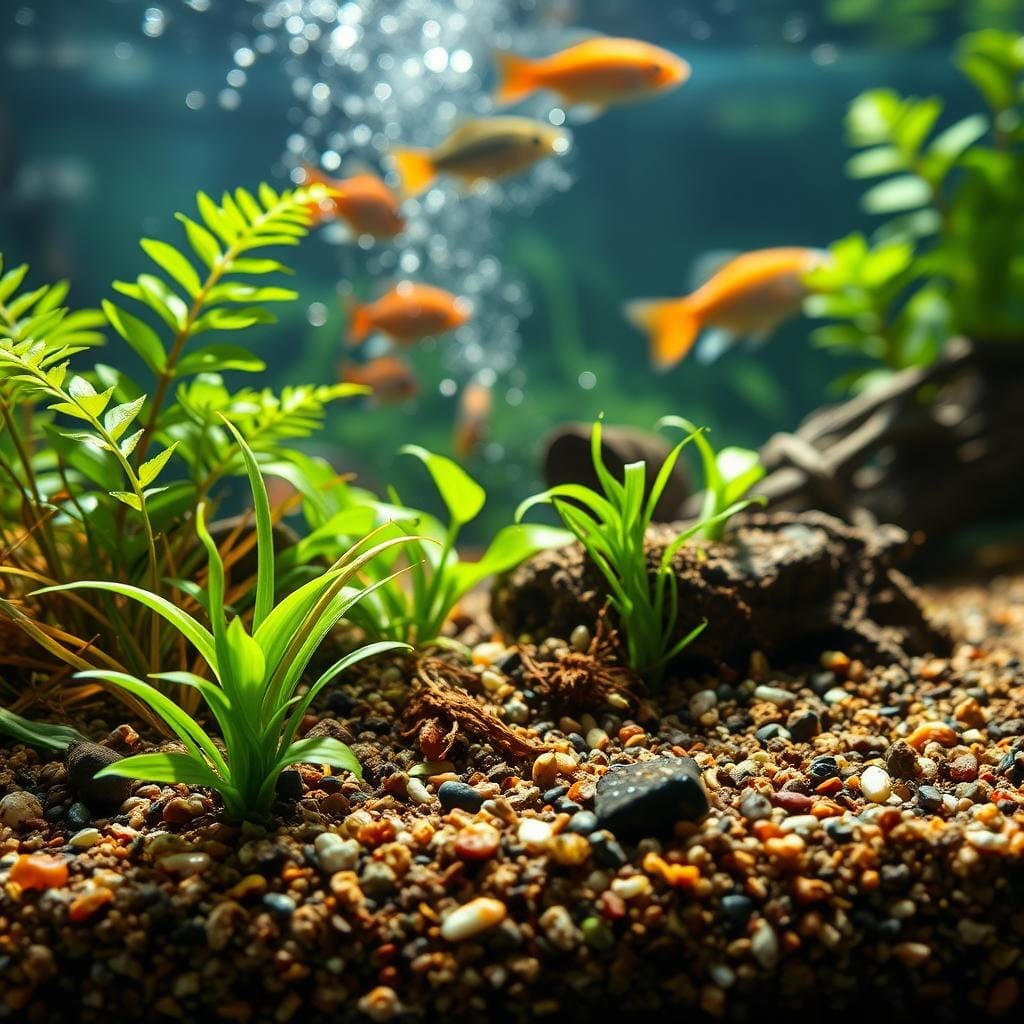
Harnessing sunlight from nearby windows reveals colors and textures that artificial sources often miss. This technique works beautifully for planted setups, bringing out vibrant green hues in your vegetation.
Be mindful of overexposure. Direct sunlight can wash out your image if not controlled. The right balance transforms even average scapes into stunning compositions.
Vary your approach between wide shots and close-ups. When shooting close, hold your camera perpendicular to the glass. This minimizes distortion and ensures sharp focus.
Include some space around your tank in the frame. This negative space provides context, making your aquatic display feel like a natural part of your home. Center-height angles enhance perspective and depth.
For unique perspectives, try top-down viewing through acrylic viewers. You can place your device directly into the viewer for bird’s-eye shots of your layout and plants.
External lights like desk lamps can highlight specific areas. This advanced technique draws attention to focal points in your composition. Remember these creative photography approaches as you experiment with different setups.
Best Practices for Setting Up Your Tank for Photography
Great photos start long before you press the shutter button—they begin with thoughtful preparation of your aquatic display. A few simple steps can dramatically improve your results, making your setup look its absolute best.
This preparation is a fundamental part of the process, as outlined in this comprehensive guide to aquarium photography. Let’s get your tank ready for its close-up.
Optimizing Glass Cleanliness and Background Contrast
Start with a perfectly clean viewing panel. Even tiny smudges or algae spots become magnified in your final shot. Wipe the glass inside and out for ultimate clarity.
Next, manage your equipment. Temporarily turn off powerheads and wavemakers. This simple action reduces floating particles and stops plants from swaying, ensuring sharper images.

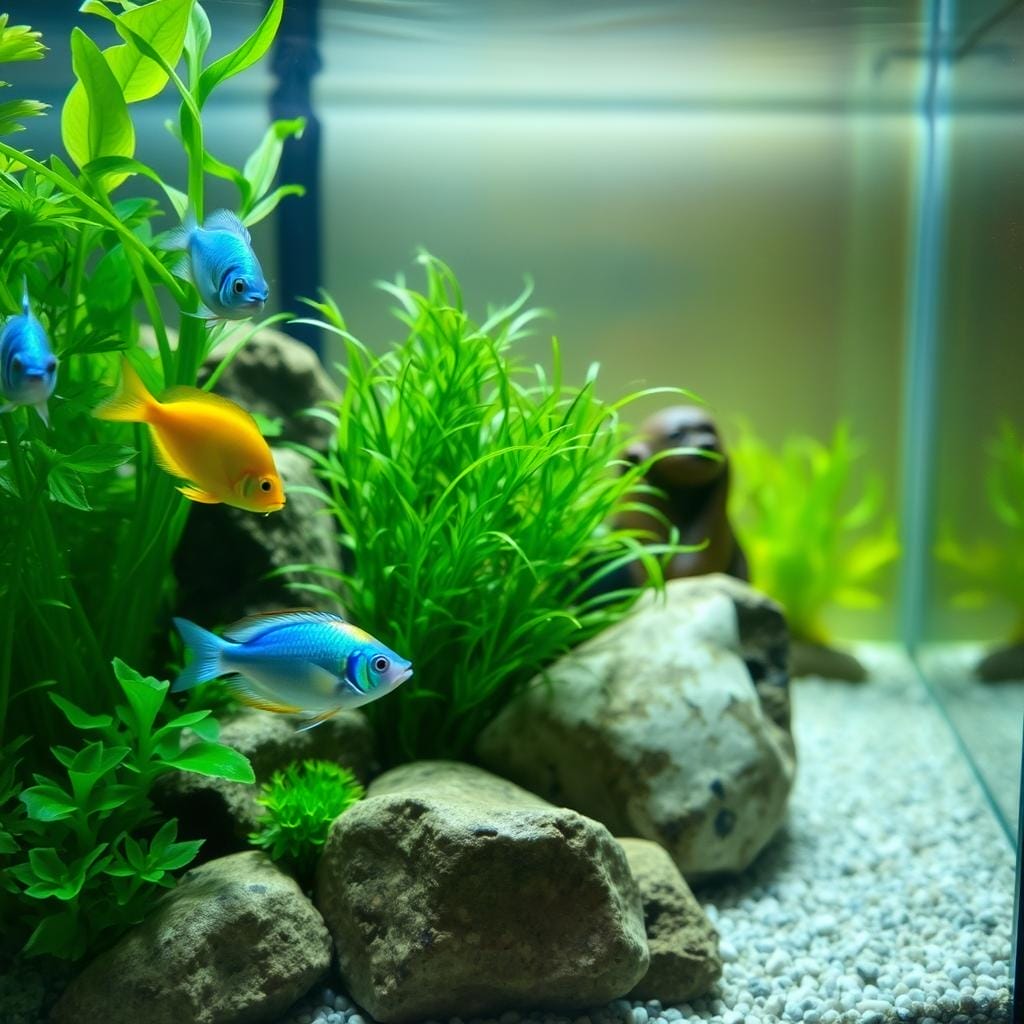
Your background plays a huge role. A sheet of white paper creates a modern, clean look that makes colors pop. For dramatic contrast, use black matte paper or cloth behind the tank.
Pay close attention to the area around your setup. Light-colored walls reflect brightness and create distractions. Darkening the space behind your tank helps your subjects stand out.
Position your camera directly in front, at the center height of the display. This angle enhances perspective and emphasizes the wonderful depth of your scape.
Finally, give your plants and decorations a quick inspection. Remove any distracting debris or algae. A small amount of food placed at one end can also help keep fish in the perfect spot for your picture.
These preparation steps are especially helpful for a beginner. They make a significant difference with a minimal amount of effort.
Post-Processing & Editing to Perfect Your Shots
Even the most perfectly captured shot can benefit from a few thoughtful adjustments to bring out its full potential. Think of editing as the final polish that reveals the true beauty hidden in your digital captures.

Remember, editing isn’t “cheating”—it’s a standard practice used by professionals to enhance their work. A few simple tweaks can transform your good photos into stunning results.
Editing Essentials: Exposure, Contrast, and Clarity
Start by adjusting the exposure and brightness to balance your image. This ensures neither the bright areas nor shadows lose important detail. Your goal is a natural look that matches what you see with your eyes.
Next, increase contrast and clarity to bring out fine details. This makes coral textures and fish scales pop beautifully. Be careful not to overdo it—subtle adjustments often produce the best results.
Refining Colors to Match True Aquarium Hues
The most important adjustment is white balance correction. This removes that persistent blue tint and reveals the vibrant colors you experience in person. Your editing software makes this easy to accomplish.
Compare your edited photo to your actual tank to ensure colors match reality. Apps like Lightroom Mobile and Snapseed work wonderfully for this process. For more advanced options, consider professional post-processing techniques.
Also Read: Common Aquarium Problems and How to Fix Them
Take your time with editing. Your skills will improve with each session. Soon, you’ll develop an instinct for what adjustments work best for your specific setup.
Wrapping Up Your Aquarium Photo Journey
You’ve now gathered all the essential tools to transform your underwater captures from frustrating attempts to gallery-worthy images. This comprehensive guide has equipped you with knowledge that delivers dramatic results.
The core principles apply whether you use a smartphone or advanced camera. Control your environment, eliminate glare, and master your settings for sharp shots. Your aquarium photography skills will grow with time and practice.
Experiment with different angles and lens focal lengths. Even simple adjustments make an immediate difference for any beginner. Remember that your personal enjoyment of the tank comes first—photography simply shares that joy.
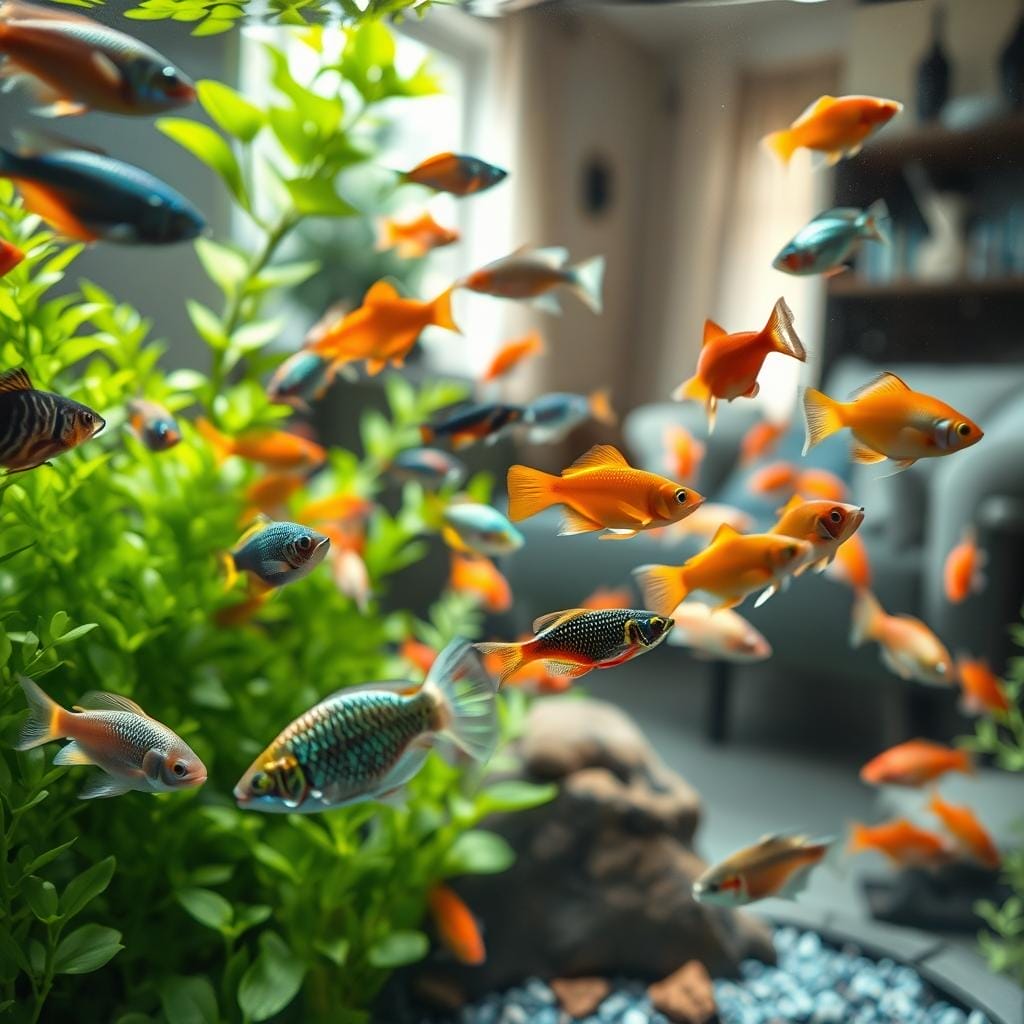
Start applying these techniques today. For additional depth, explore this detailed aquarium photography tutorial. Capture stunning fish portraits and full-tank views that showcase your unique aquatic world.
With patience and the right amount of practice, your skills will flourish. Each session teaches you something new. Your aquarium is a living work of art—now you can beautifully document its evolution over time.
FAQ
How do I avoid blue-tinted photos of my tank?
Blue light from your setup can make images look cool. To fix this, adjust your camera’s white balance. Use a custom setting or choose the “tungsten” or “incandescent” preset. This helps your pictures show the true, vibrant colors of your fish and plants.
What is the best way to reduce glare on the glass?
Glare happens when room lights bounce off the glass. Turn off any lamps in the room behind you. Shoot at a slight angle instead of straight-on. You can also use a lens hood or even hold a dark piece of paper above your camera to block reflections.
Can I take good pictures with just my phone?
Absolutely! Modern phones are great for this. Tap your screen to focus on your subject. Use burst mode to capture fast-moving fish. For better results, clean the glass thoroughly and get as close as possible to avoid distortion.
What camera settings should I use for a DSLR?
A> Start with manual mode. Use a fast shutter speed to freeze motion, like 1/125th of a second or faster. Open your aperture wide (a low f-number) to let in more light. A higher ISO can help in darker tanks, but keep it as low as possible to avoid grain.
How can I make the colors in my photos pop?
Good lighting is key. Ensure your tank’s lights are bright and full-spectrum. During editing, you can slightly increase the vibrancy and saturation. Be careful not to overdo it—you want the image to look natural and match what you see with your eyes.
Do I need a special lens for close-up shots?
A macro lens is ideal for capturing tiny details like fish scales or plant textures. If you don’t have one, a standard lens with a close-focusing capability can work well. Using a tripod will keep your camera steady for those sharp, detailed close-ups.
What is the simplest way to improve my aquarium photography?
The easiest fix is preparation. Take time to clean the inside and outside of the glass. Ensure your water is clear. A plain, dark background can make your subjects stand out beautifully. Patience is your best tool—wait for the perfect moment to press the shutter.
Hi, I'm Millie a passionate fish enthusiast and blogger. I loves learning about all kinds of aquatic creatures, from tropical fish to stingrays.