DIY Aquarium Projects for Beginners and Experienced Hobbyists

Have you ever wondered if you could create a stunning aquatic display that perfectly matches your vision, without spending a fortune on a pre-made setup?
Many people assume that building their own fish habitat requires advanced skills or specialized tools. But what if we told you that creating a custom aquatic environment is more accessible than you might think?
Whether you’re just starting out or have years of fishkeeping experience, crafting your own system opens up incredible possibilities. You can design something that truly reflects your personal style while meeting your specific needs.
The satisfaction of watching fish thrive in a habitat you built with your own hands is an experience that store-bought tanks simply can’t match. It’s not just about saving money—it’s about creating something uniquely yours.
This comprehensive guide will walk you through selecting materials and assembling your setup with gentle, step-by-step guidance. You’ll gain practical skills that will serve you well throughout your aquatic journey.
Building your own aquatic world is a rewarding way to bring beautiful underwater life into your home. With the right approach, you’ll discover that creating your dream habitat is within your reach.
Getting Started with DIY Aquarium Projects
The journey to creating your perfect underwater world begins with thoughtful preparation and the right mindset. Taking a moment to plan carefully will make your building experience much smoother and more enjoyable.
Understanding Your Goals and Needs
Before you cut any glass or purchase materials, consider what you want to achieve. Are you building a small habitat for a few peaceful fish, or planning something more elaborate?
Your experience level matters, but don’t let it hold you back. Many people have successfully completed their first build without prior experience. The key is choosing a project that matches your comfort level.
Think about the fish species you want to keep. This decision affects everything from tank size to filtration needs. Proper planning now saves frustration later.
Essential Tools and Safety Equipment
Gathering the right tools is crucial for success and safety. You’ll need items like glass cutters, silicone applicators, and measuring tools.
Never skip safety gear. Protective gloves and safety glasses are non-negotiable. They protect you during construction and give you confidence to work carefully.
Taking time to prepare properly sets a strong foundation. Your approach to this first project will influence future builds, so it’s worth doing right from the start.
Choosing the Right Glass and Materials
Your material selection forms the foundation of your entire aquatic habitat. The right choice ensures safety, durability, and clear viewing for years to come.

Different materials work better for various setups. Understanding your options helps you make informed decisions.
Selecting Aquarium-Safe Glass Options
For smaller setups under 25 gallons, acrylic or plexiglass offer excellent flexibility. They’re lightweight and beginner-friendly.
Larger habitats need stronger materials. Non-tempered glass provides the thickness required for greater water pressure.
This type of material resists scratching and maintains clarity over time. You won’t need replacement in the near future.
Comparing Acrylic, Plexiglass, and Tempered Glass
Acrylic materials work well for small tanks but scratch easily. They can cloud with water treatments.
Never use tempered glass for construction. It shatters completely if compromised, risking your entire setup.
Regular glass offers the safest option for most applications. It cleans easily and resists permanent staining.
Consider your specific needs when choosing materials. The right kind of glass ensures both safety and long-term enjoyment.
Planning Your Aquarium Dimensions and Design
Proper planning of your tank’s size and shape is one of the most important decisions you’ll make. Getting this right from the start saves you from difficult changes later.

Determining the Ideal Tank Size
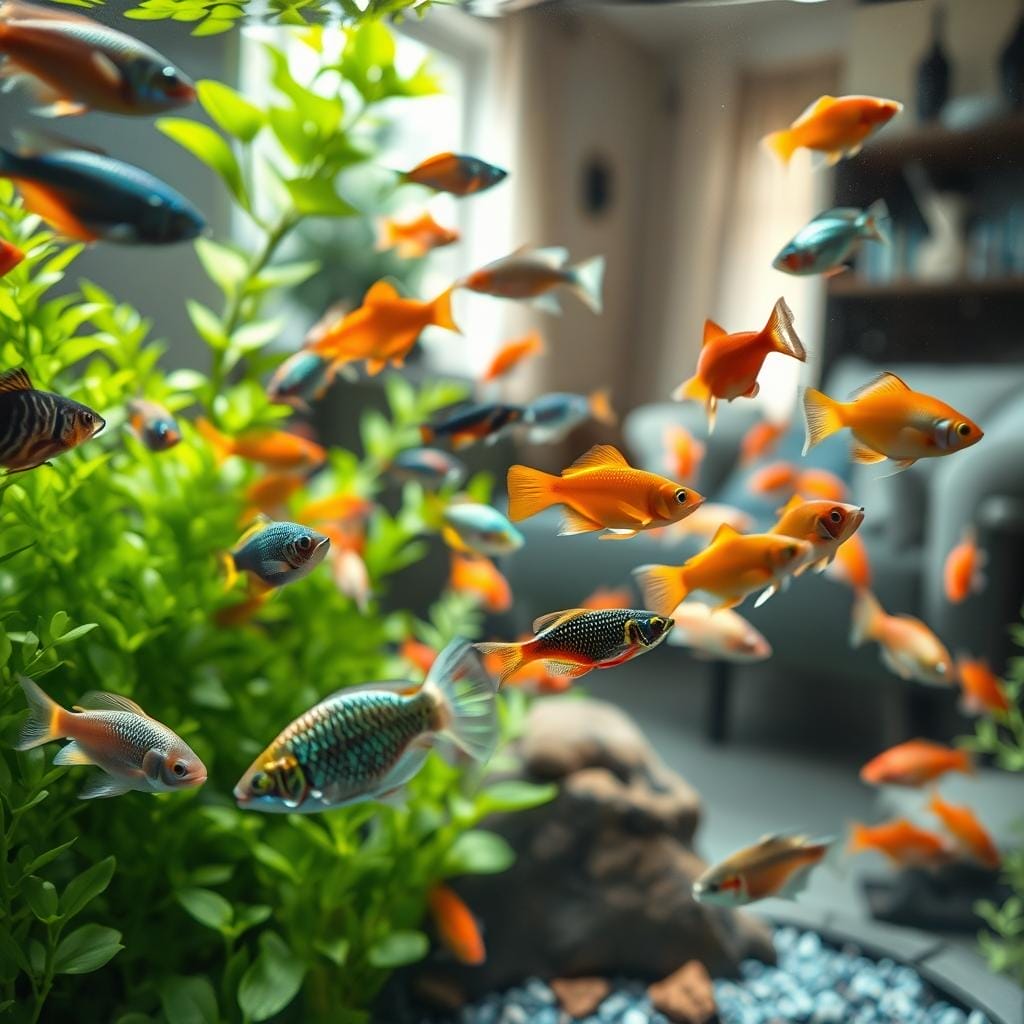
Your fish’s needs should guide your tank’s size. Small fish like guppies or neon tetras thrive in a 5 to 10-gallon setup. For a school of these fish, a 20 to 40-gallon tank is a better choice.
Larger species, such as Oscar fish, require 30 to 60 gallons. If you plan on keeping a school of big fish, aim for a tank of at least 100 gallons. This prevents overcrowding and keeps your water healthy.
Always measure your available room space. Your chosen spot must fit the tank, a strong stand, and all your equipment comfortably.
Considering Water Weight and Portability
Remember that water is heavy. Each gallon adds about 10 pounds to the total weight. A 50-gallon tank will weigh around 500 pounds when full.
Your stand must be incredibly sturdy to support this load safely. You also need to ensure your floor can handle the weight without any risk.
Think about access from every side for easy maintenance and feeding. If you might move or rearrange your room, a smaller, more portable tank is a wise and practical decision.
Preparing Your Glass Pieces
Now comes the hands-on part where your careful preparation pays off. Getting your glass ready correctly is a crucial step for a strong, leak-free final build. This process ensures a smooth assembly experience.

Arranging and Protecting the Glass
Start by finding a large, flat workspace. Lay down cardboard or a soft cloth to protect your glass from scratches. Place the bottom panel down first.
Arrange the front, back, and side panels around the base piece. This setup gives you a clear view of how everything fits together. A clean container nearby helps keep your tools organized.
Cleaning and Taping Techniques
Next, clean every single edge thoroughly. Use acetone and a clean cloth to remove all dust, oil, and residue. A clean edge is essential for a strong silicone bond.
Now, apply your tape. Cut strips of tape to about half the length of one side. Stick half of each strip onto the bottom panel, pointing outward.
Leave the other half of the strip lying free on your workspace. This clever technique will hold your vertical panels securely in place later. Taking your time here prevents weak seals and leaks.
Double-check that every edge is spotless and every strip is positioned correctly. This careful preparation makes the next step much easier and more successful.
Assembling Your Aquarium Step by Step
This exciting phase turns your planning into reality as you carefully join the components together. Your methodical approach now pays off in creating a sturdy, leak-proof structure.

Applying Aquarium-Safe Silicone Effectively
Load your caulk gun with aquarium-safe silicone. Apply a thin, continuous stripe along each edge. Keep the silicone about 2 millimeters from the edge to prevent messy squeeze-out.
Work efficiently during this critical time. The silicone begins setting within 2 to 3 minutes. Move steadily but don’t rush your application.
Fitting and Securing the Panels
Start with the front panel. Press it firmly but gently against the bottom piece. Hold it briefly to establish initial adhesion.
Secure the panel with your prepared tape strips. If concerned about stability, prop it with a weighted object. Continue with each side piece, applying fresh silicone along both edges.
The back panel completes your tank structure. Check that every panel sits perfectly perpendicular. Proper alignment ensures structural integrity for years of safe use.
Allow adequate curing time before removing tape or adding water. Most products need 24 to 48 hours to fully set. Your patience now guarantees a durable finished product.
Adding Essential Equipment and Filtration
Now that your custom habitat stands ready, it’s time to install the vital components that will maintain a healthy ecosystem for your fish. This phase transforms your beautiful structure into a fully functional living environment.

Your filtration system serves as the heart of your setup. It continuously cleans the water and provides essential oxygen circulation throughout the tank.
Installing Reliable Filter Systems
For freshwater setups, you’ll typically choose between undergravel filters or power filters. Power filters are often preferred for their ease of maintenance and effectiveness.
When selecting your filter, ensure it can circulate at least 5 gallons per hour for every gallon of your tank‘s capacity. This proper sizing prevents common beginner mistakes and keeps your water crystal clear. You can learn more about effective filtration media choices that experienced hobbyists trust.
Integrating Heaters and Additional Devices
If you’re keeping tropical fish, a reliable heater system maintains consistent water temperature. Position it near the filter output for even heat distribution.
Take your time to hide equipment tastefully behind decorations. Test everything thoroughly before adding fish. Run your complete system for several days to ensure quiet, efficient operation.
Consider additional devices like air pumps or lighting timers based on your specific needs. For a comprehensive guide on setting up your freshwater environment, check out this freshwater fish tank setup resource.
Decorating and Creating a Thriving Environment>
The finishing touches transform your structure into a living ecosystem where your fish will truly thrive. This is where you combine beauty with function to create a space that’s both visually appealing and biologically sound for your aquatic pets.

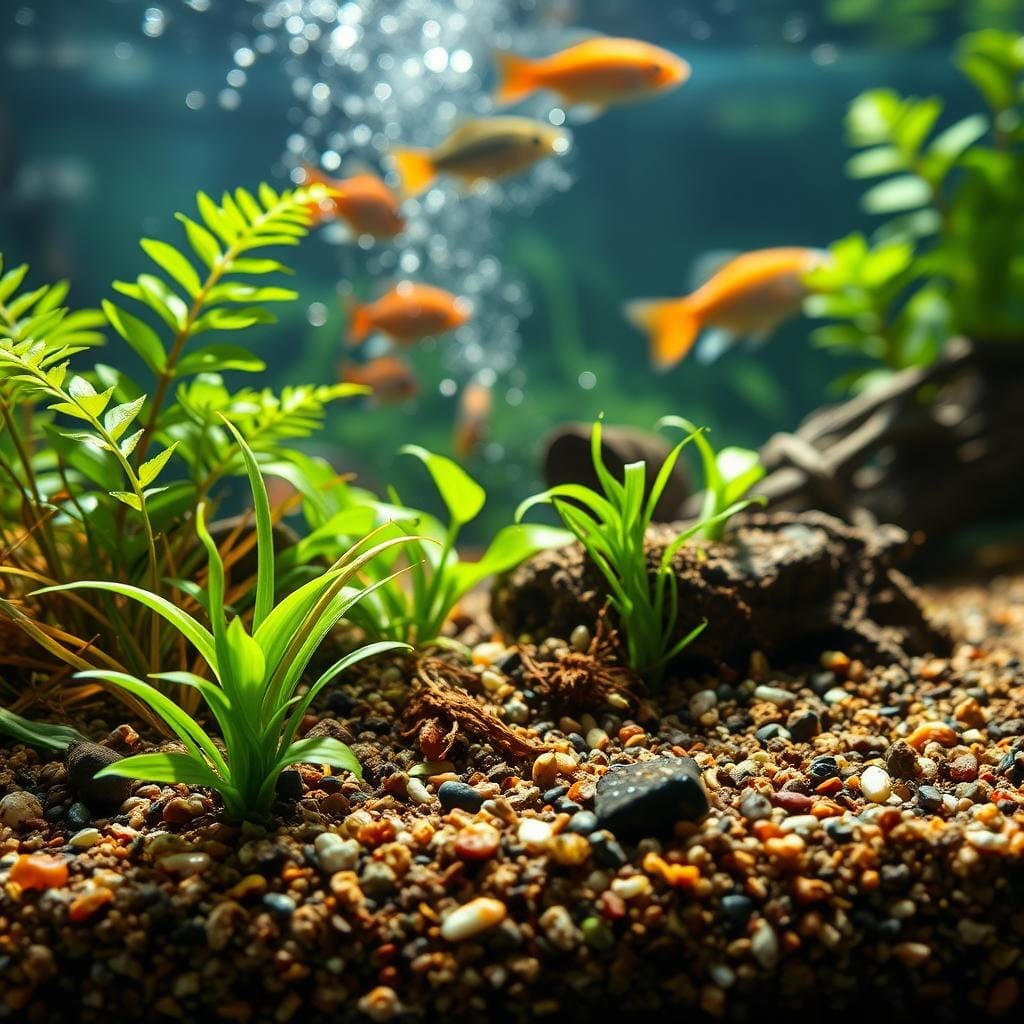
Selecting Gravel, Sand, and Natural Decor
Start with your substrate choice. Most fish adapt well to either gravel or sand. Your local pet store offers many textures and colors to match your vision.
Always rinse gravel thoroughly before adding it to your tank. This prevents dust from clouding your water and stressing your fish. Aim for 2-3 inches of substrate across the bottom.
Add a few inches of water before placing decorations. This makes positioning everything much easier. Natural elements like rocks and driftwood provide essential hiding spots that reduce stress for your fish.
Also Read: Common Aquarium Problems and How to Fix Them
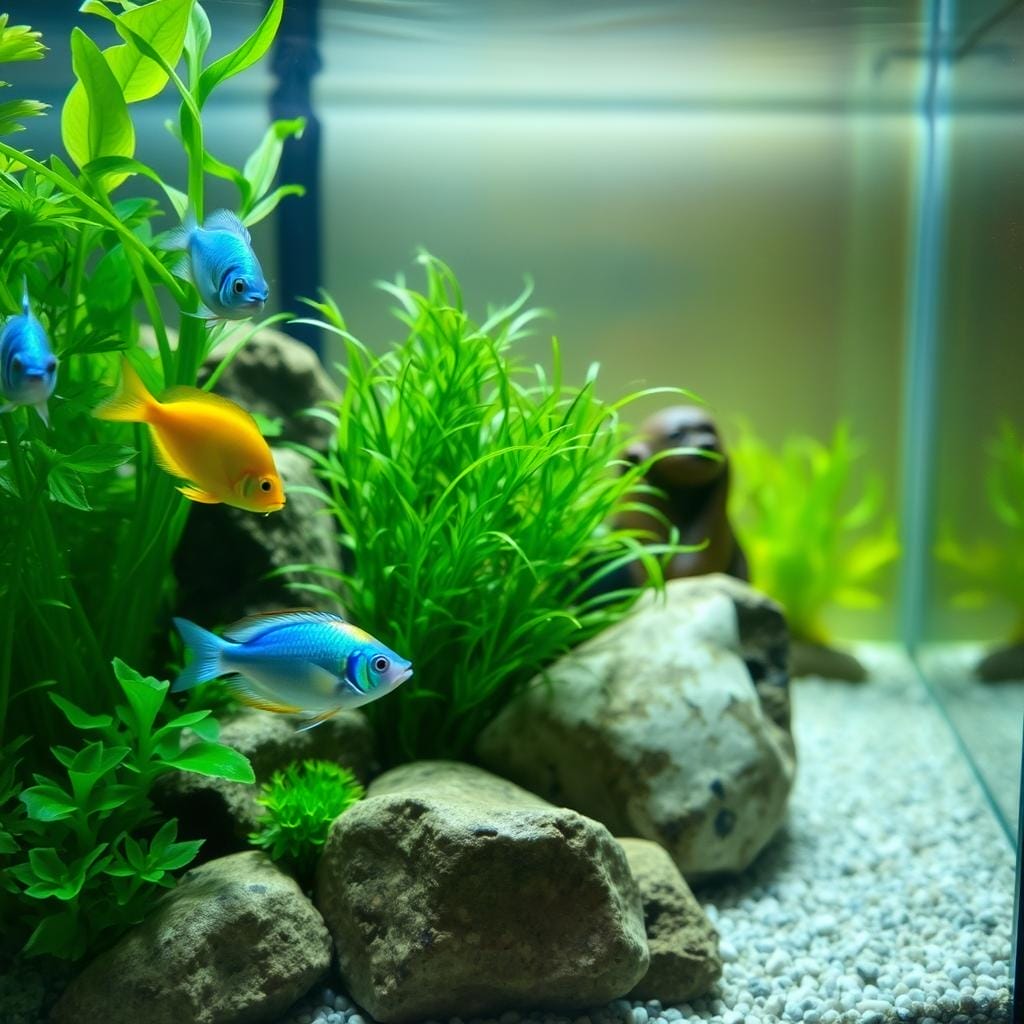
You can create stunning custom aquarium solutions by mixing natural and artificial elements. Live plants help maintain water quality while adding natural beauty.
Once your decorations are positioned exactly how you want them, fill the tank almost to the top. Leave about one inch of space below the rim. This prevents overflow and allows for proper gas exchange.
Don’t forget the lid! A secure cover protects your fish from jumping out and keeps curious pets like cats from investigating. The lid also reduces evaporation and helps maintain stable temperature.
Take your time creating an environment that meets both your aesthetic preferences and your fish’s biological needs. A well-decorated tank brings joy every time you admire your underwater world.
Innovative DIY Aquarium Projects for Custom Systems
Ready to take your fishkeeping skills to the next level with some truly clever customizations? Once you’re comfortable with the basics, you can start exploring builds that add incredible automation to your setup.
These advanced features save you a lot of time and ensure perfect conditions for your fish.

Building Advanced Features for Unique Setups
Imagine an automatic feeder that dispenses frozen food on a schedule throughout the week. This keeps your fish nourished even when you’re away.
Refrigerated dosing systems are another game-changer. They automatically add supplements to maintain water quality. This saves you hours of manual testing and dosing.
You can even build custom float sensors that monitor water levels at multiple points. This prevents overflows and ensures your top-off system worked perfectly every time.
Integrating Technology for Monitoring and Maintenance
Technology lets you monitor your tank from anywhere. You can track water quality and flow rates in real-time.
Alarms can alert you if any parameter drops out of range. This gives you peace of mind and protects your aquatic pets.
Building these systems requires patience and testing. It might take a few hours or even a week to get everything running smoothly.
The reward is a custom system that supports healthy growth and gives you more time to enjoy the beautiful views.
Safety, Maintenance, and Long-Term Care
A well-built habitat is just the beginning; ongoing maintenance is what turns it into a stable, healthy home. Your consistent care ensures it remains a beautiful and safe environment for a long time.

Preventing Structural Failures and Leaks
Make a habit of inspecting the silicone seals regularly. Look for any cloudiness or separation, especially in the first few months. Catching a small issue early prevents a major failure.
This simple check takes little time but protects your home from potential water damage. If you ever notice a concern, address it immediately. For guidance on fixing seals, consider resources on rehabilitating an older setup.
Regular Maintenance and Inspection Tips
Your filtration system is the heart of your tank. Clean or replace the media every few weeks to keep it running smoothly. Consistent water testing is also crucial for fish health.
Schedule weekly tasks like partial water changes. Over time, you will gain experience reading your fish’s behavior and the water‘s clarity. This experience helps you spot problems before they become serious.
Keeping a simple log of your maintenance helps you track the system‘s performance. The time you invest in care is minimal compared to fixing a big problem. Your dedication rewards you with a thriving underwater world.
Final Thoughts on Building Your Dream Aquarium
Your newly built aquatic environment represents more than just a container for fish—it’s a personal achievement. The skills you gain from this experience will serve you well for many years. Whether you created a simple freshwater setup or something more advanced, you’ve accomplished something special.
Don’t be surprised when friends ask to see your tank or seek your advice. Your project might inspire other people to try building their own habitat. The thing about custom builds is they’re never truly finished—there’s always room for improvement.
Over time, you’ll likely create multiple tanks, each reflecting your growing experience. The fish in your care will thrive when you provide the right environment. Watching them flourish is incredibly rewarding.
Share what you’ve learned with others. Teaching a friend or sharing online helps build a wonderful community. Your tank is like one unique piece of functional art that shows your creativity and dedication to aquatic life.
FAQ
Is building my own tank safe for my fish?
Yes, when done correctly. The key is using the right materials, like aquarium-safe silicone and proper glass. Always perform a thorough water test for several days in a safe space before adding any pets to ensure there are no leaks.
What’s the most common mistake beginners make?
Rushing the process. Giving the silicone ample time to cure is crucial. A leak can happen if the panels aren’t fully sealed. Patience during assembly and testing will lead to a system that worked perfectly for years.
Can I use any type of glass or container?
No. Regular glass from a picture frame isn’t strong enough. You need tempered glass or specifically rated acrylic designed to handle the immense water weight and pressure. The wrong material can lead to a dangerous failure.
How do I know what size filter and heater I need?
Your tank’s water volume determines this. Check the product specifications on filters and heaters—they list the gallon capacity they are designed for. It’s better to choose a system slightly more powerful than you think you’ll need for optimal growth and health.
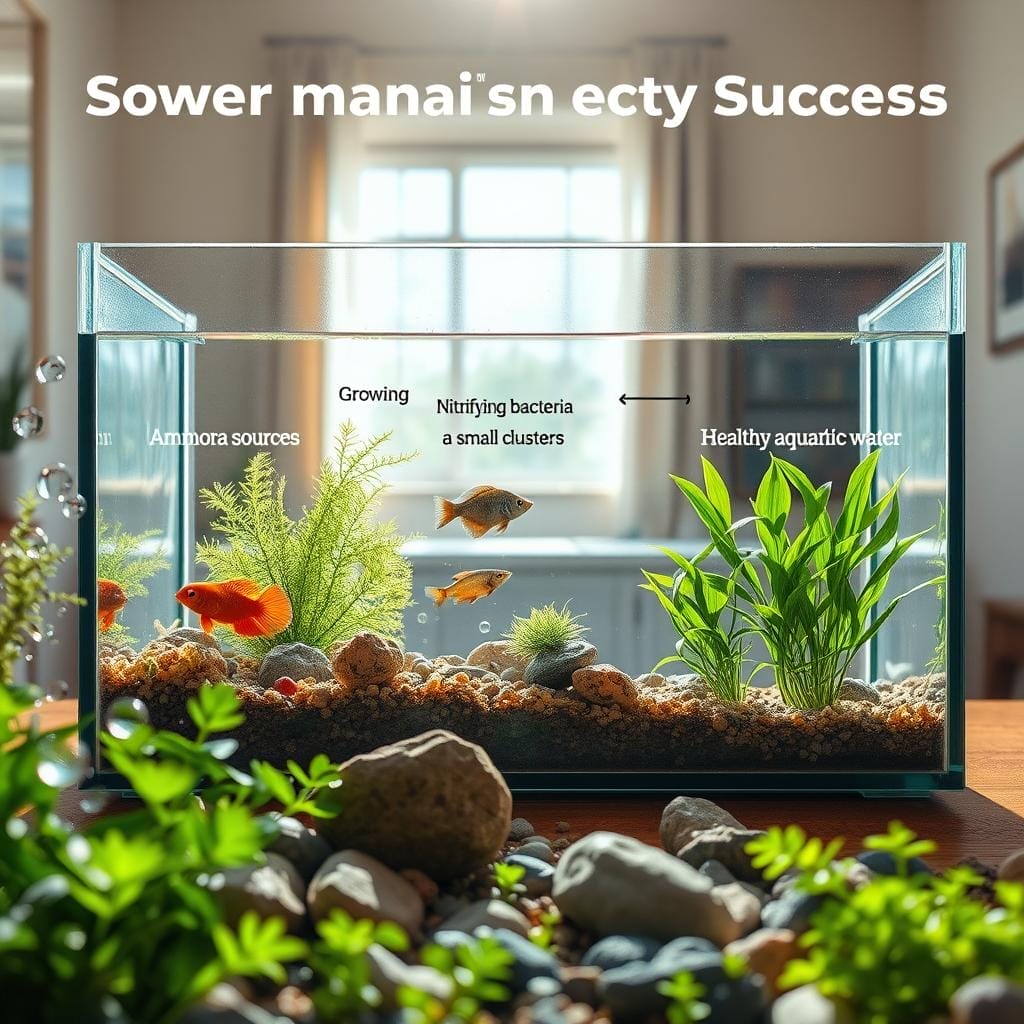
How long should I wait before adding fish after building the tank?
After the silicone cures (check the product label for time, usually 24-48 hours), fill it with water and let it run with the filter for at least one week. This “cycling” process establishes beneficial bacteria that are vital for your future pets’ well-being.
Are there any projects I should avoid as a beginner?
It’s wise to start with simpler builds, like a standard rectangular tank. Projects involving complex shapes, integrated technology, or very large volumes are better suited for those with more experience. Master the basics first for a successful and enjoyable project.
Advanced aquarium DIYAquarium Decor IdeasAquascape projectsBeginner aquarium projectsCustom aquarium buildsDIY aquarium lightingFish tank DIYFreshwater tank projectsUnderwater Landscaping
Hi, I'm Millie a passionate fish enthusiast and blogger. I loves learning about all kinds of aquatic creatures, from tropical fish to stingrays.